Covered Cushion Zip Tutorial
So you have enjoyed making the front of a fabulous Sewmotion cushion kit and now need to finish the back... why not add a covered zipper closing, it's not as daunting as you may think :)
This tutorial is for an 18" finished cushion, you will need;
• 50cm backing fabric
• 22" closed end zip - available here
1. From 50cm of backing fabric, cut:
- one 9" x 18.5" rectangle
- one 14" x 18.5" rectangle
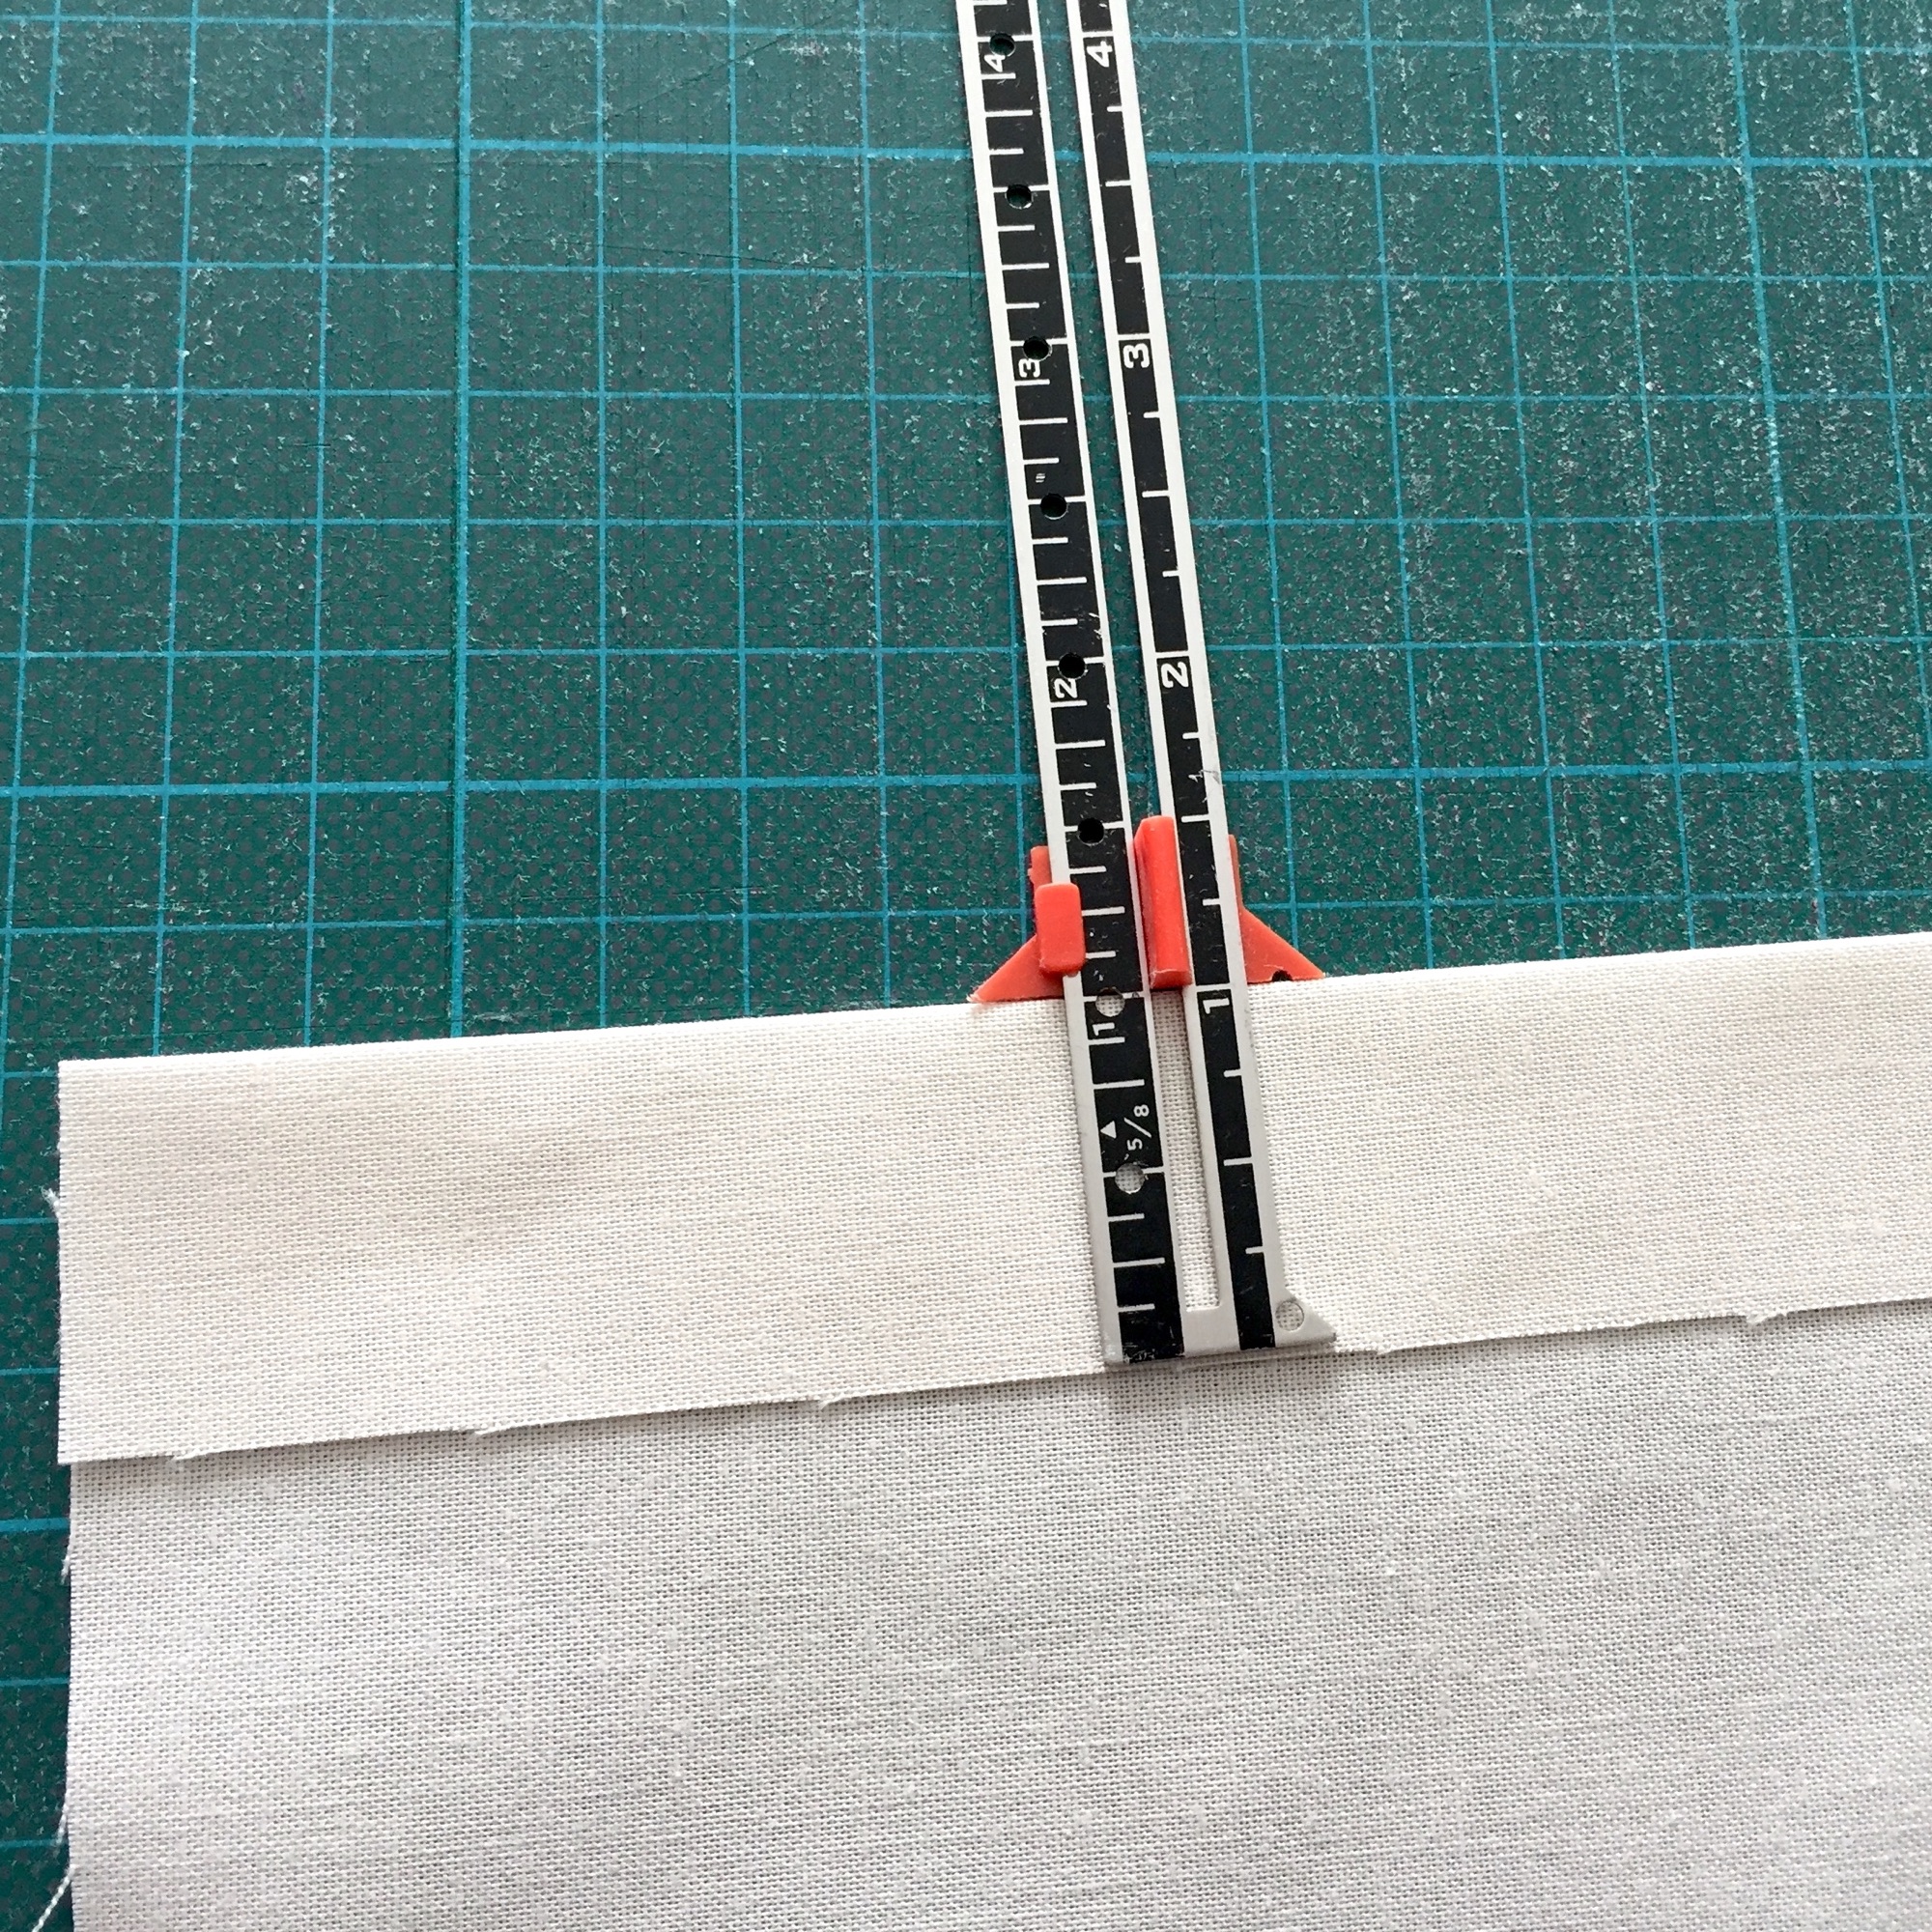
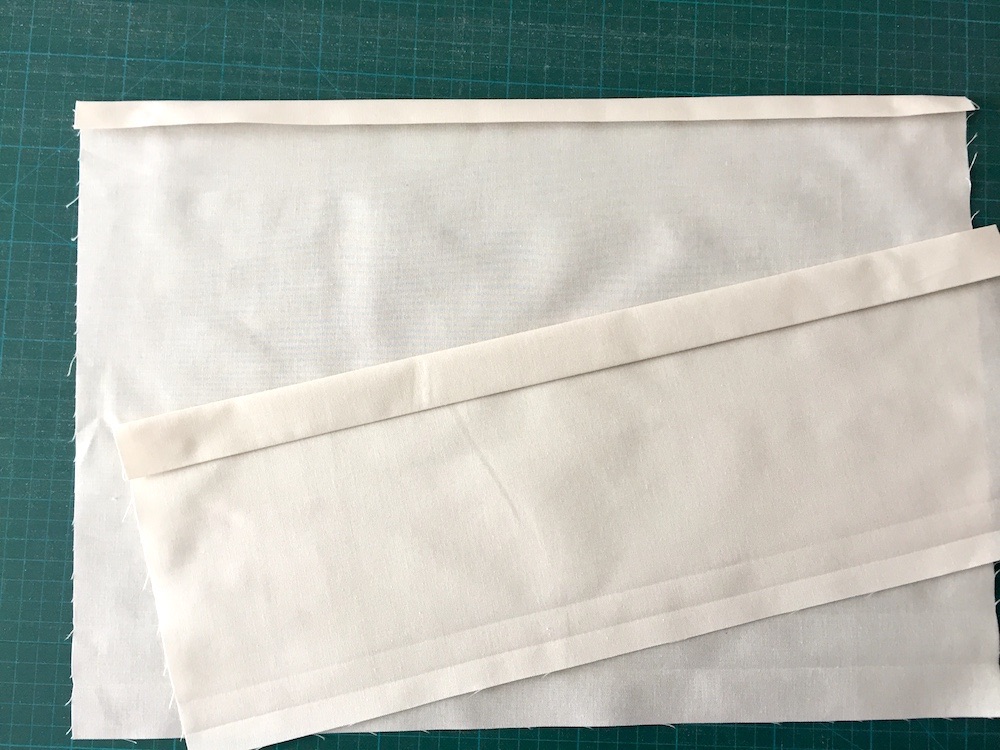
2. Take the 9" x 18.5" rectangle and fold a 1" hem along one of the 18.5" edges, press with a hot iron.
Then fold over again by another inch and press, your rectangle should now measure 7" x 18.5".
3. Take your larger rectangle and fold over a 0.5" (half an inch) hem along the 18.5" edge, press and repeat - you should now have a double hem on both pieces.
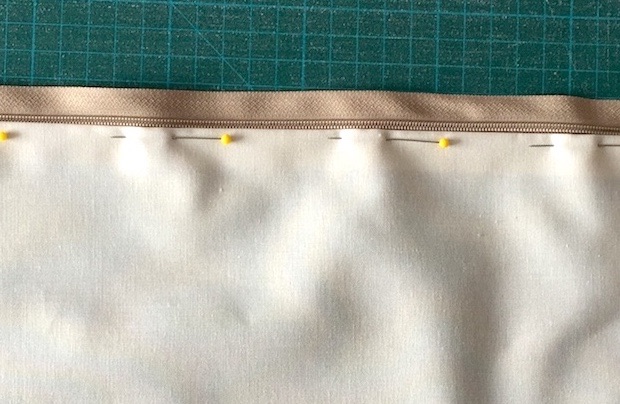

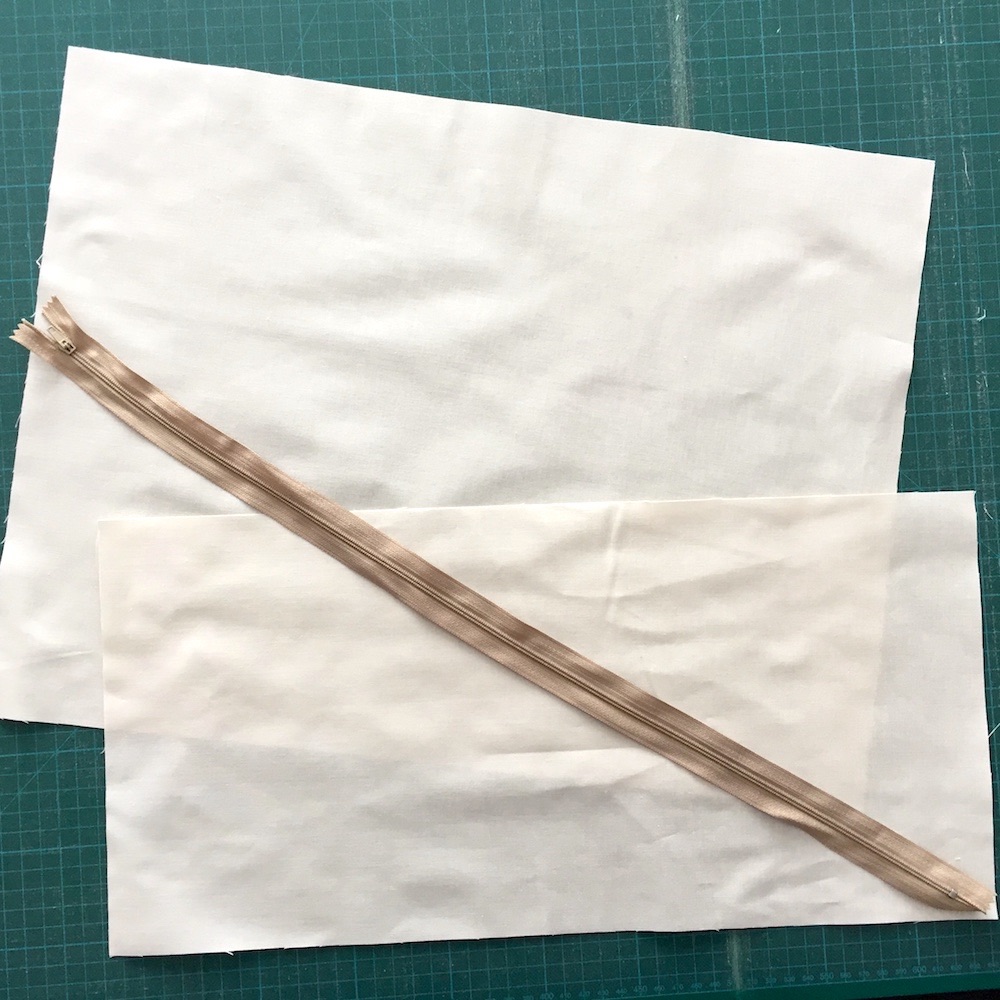
4. Place your zip face up with the opening on the right, and lay your 14" x 18.5" rectangle on top, with the folded edge butted up against the bottom of the zipper's teeth. Pin to secure.
5. Make a pencil mark on the zipper at both ends of the fabric - this will help you line up the second rectangle later on.
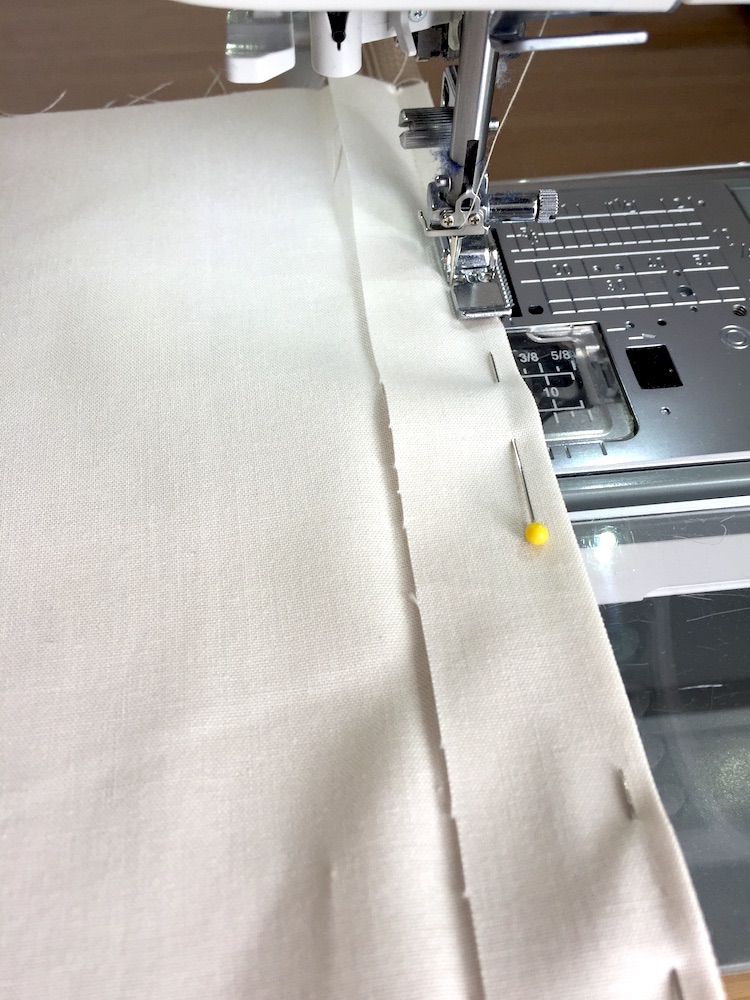
6. Attach the zipper foot to your machine, move the needle to the right and sew about an eighth of an inch away from the top edge of the fabric.
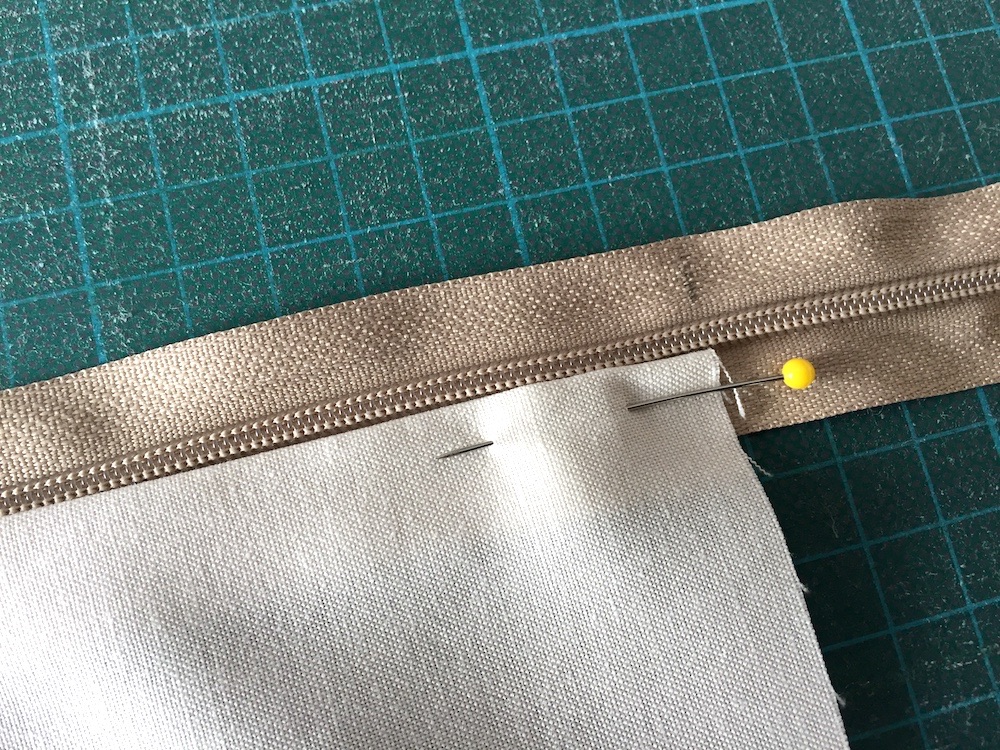
7. Unfold the first hem on your smaller rectangle, and line this folded edge up with the top of the zipper, using the pencil marks to align the fabric rectangles. Pin to secure.
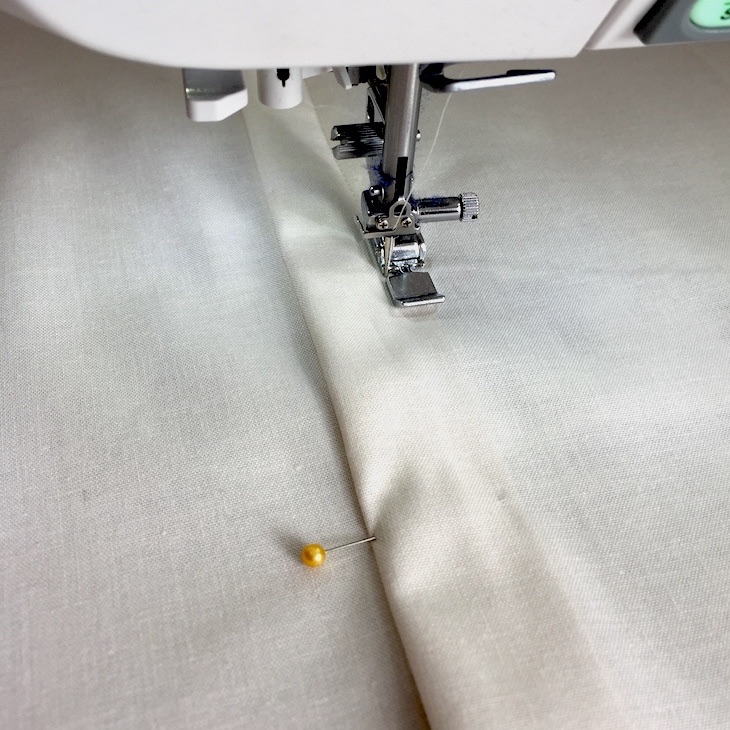
8. Move your needle to the left this time and sew along the top so your foot is butting up against the top edge of the zipper's teeth.
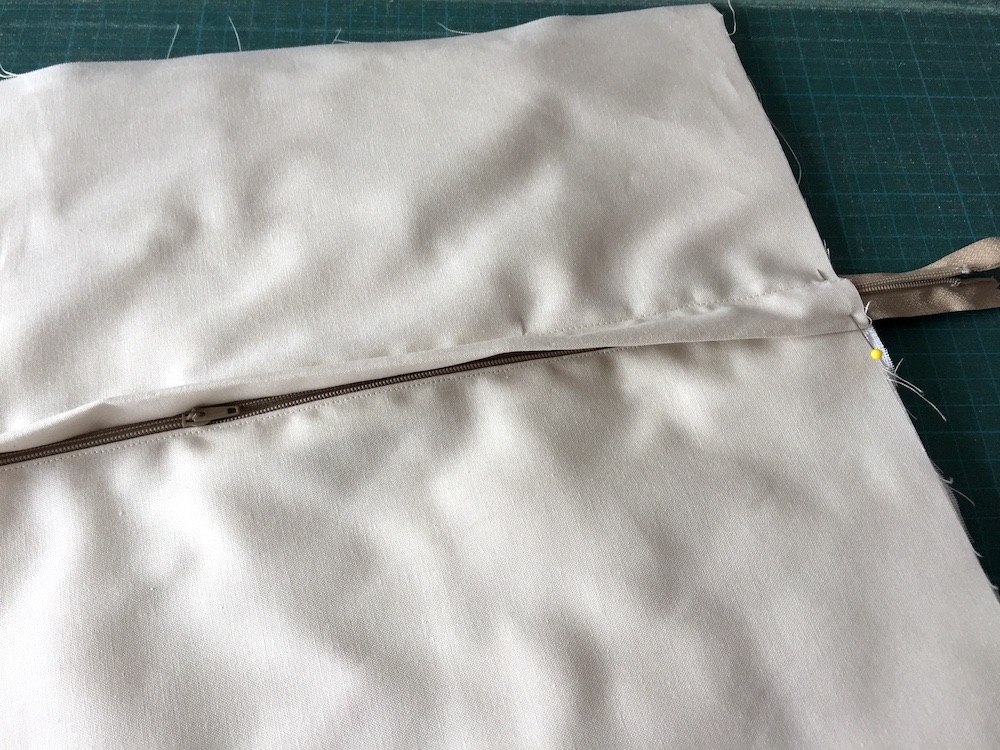
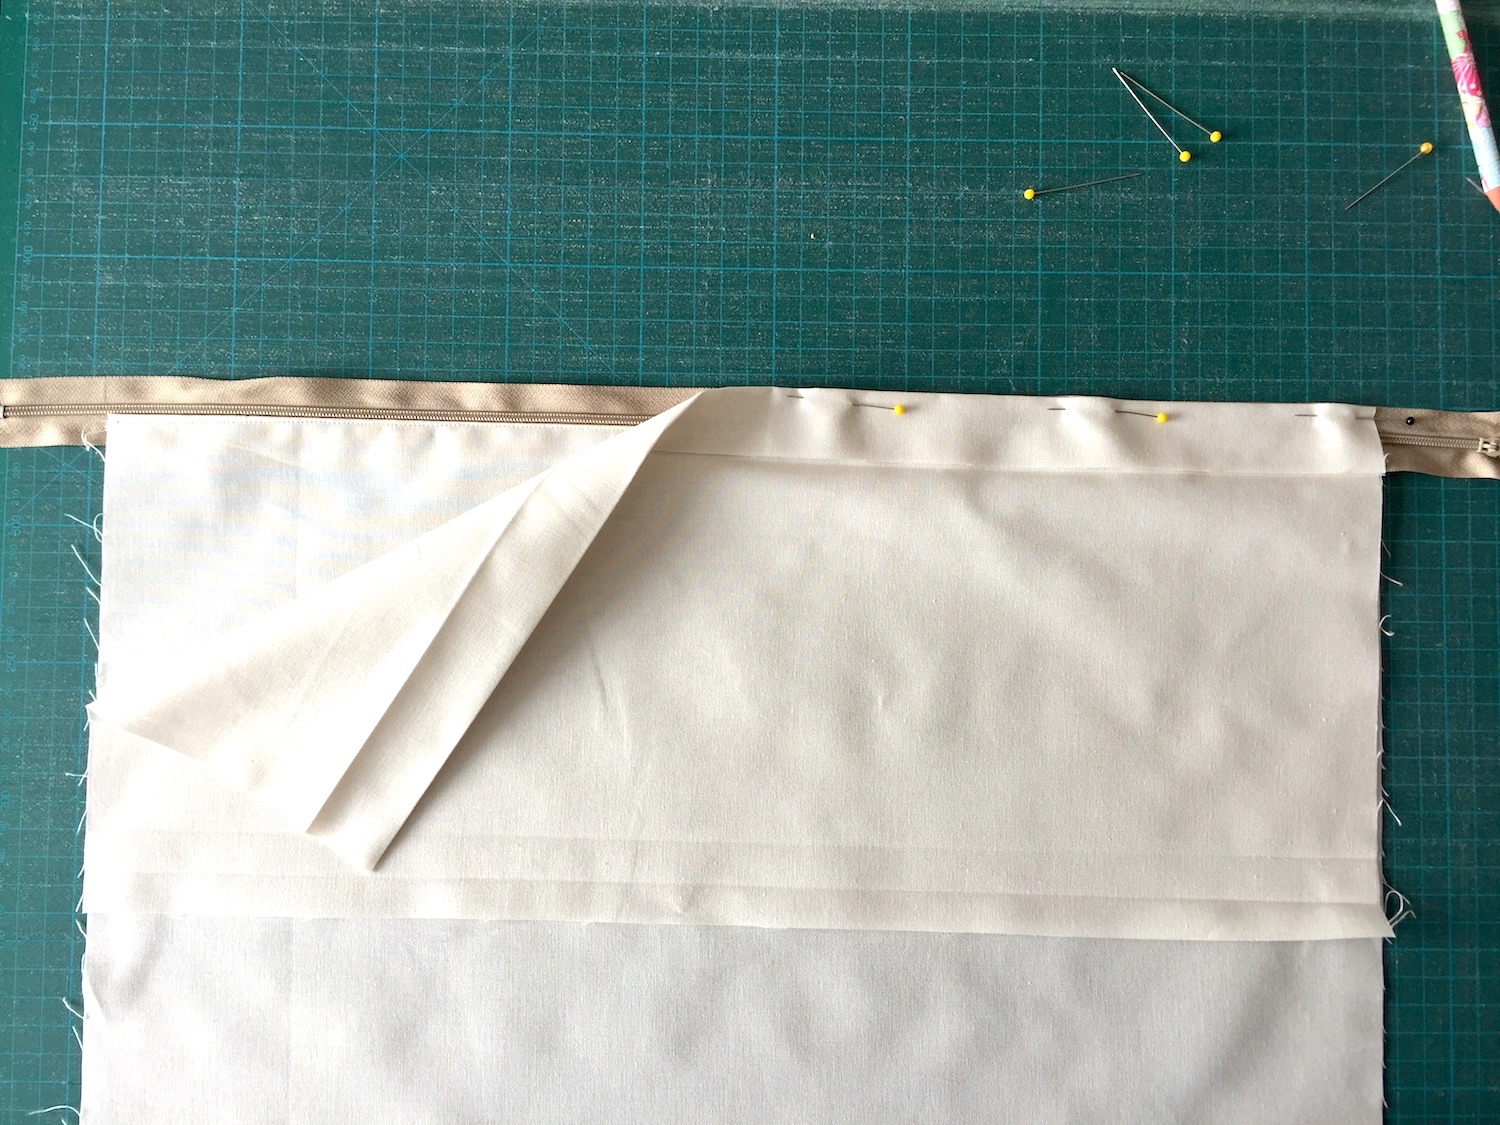
9. Fold back your top smaller rectangle and you'll find that the second hem you made at the beginning lays over and covers the zip. Insert pins vertically along the zip.

10. Increase your stitch length to around 2.8 for a more decorative look. Sew along so that your zipper foot is butting up against the top edge of the zipper teeth again - this will ensure you catch all the fabric underneath in your sewing.
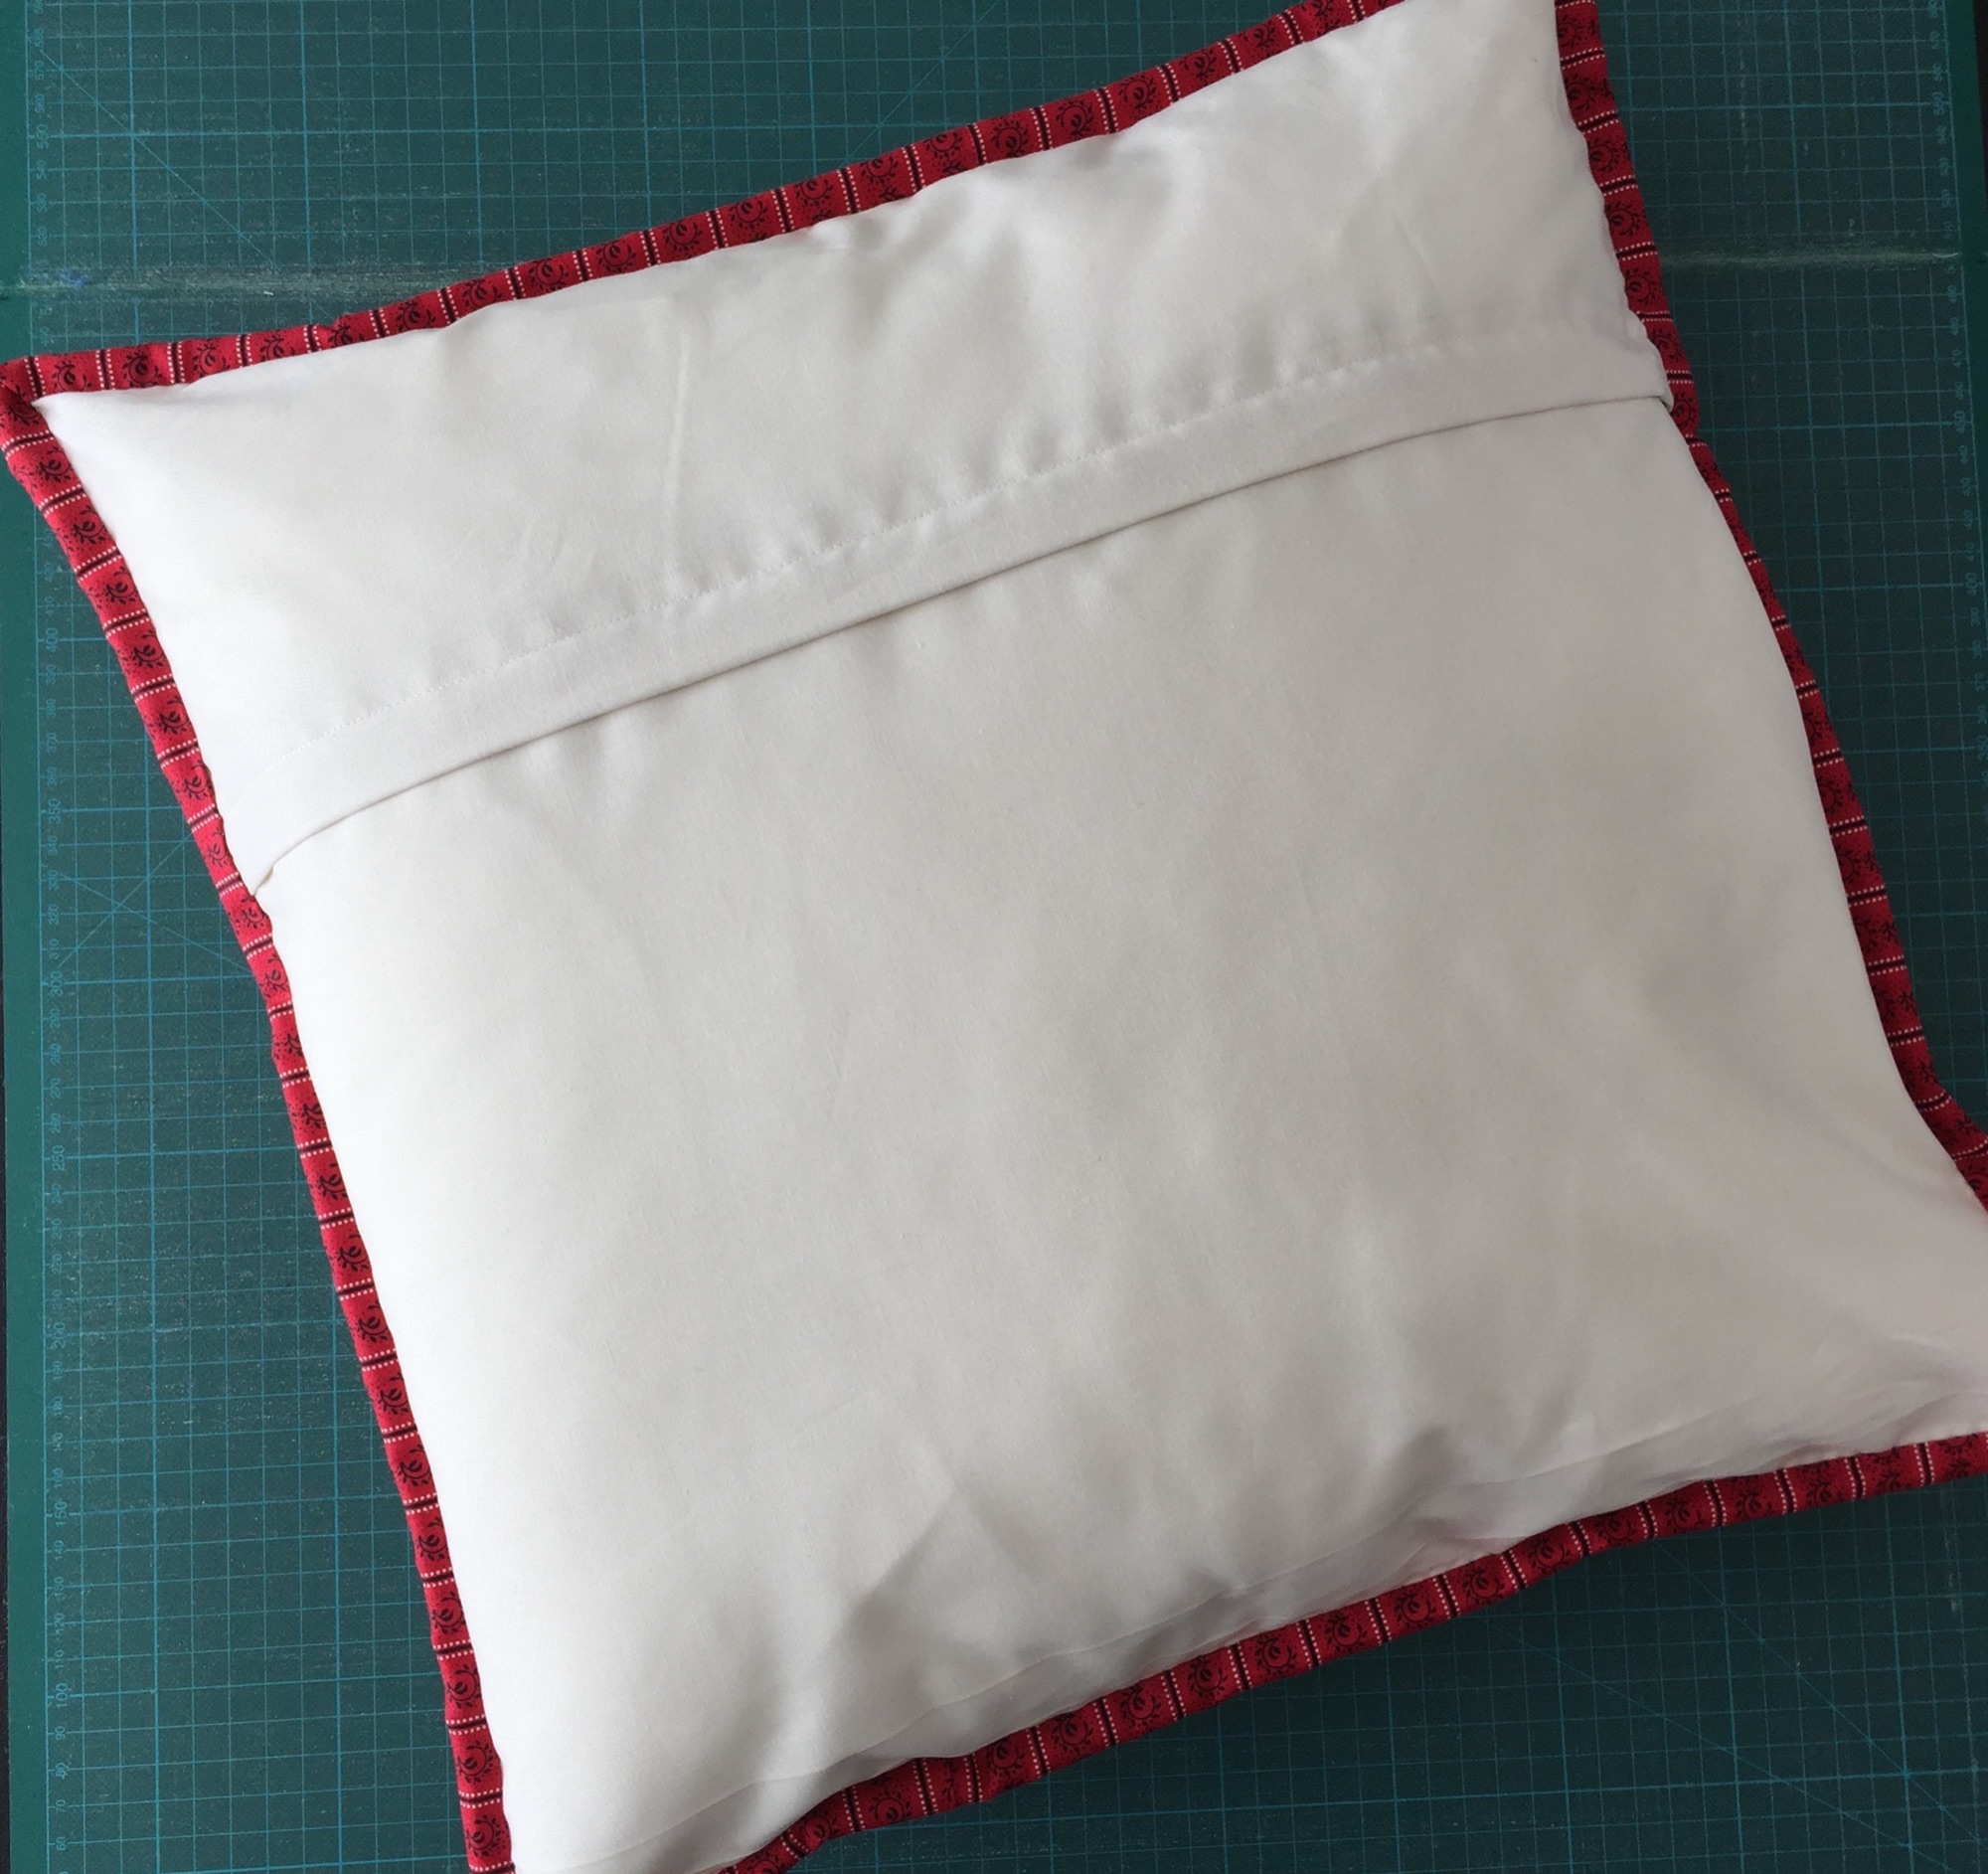
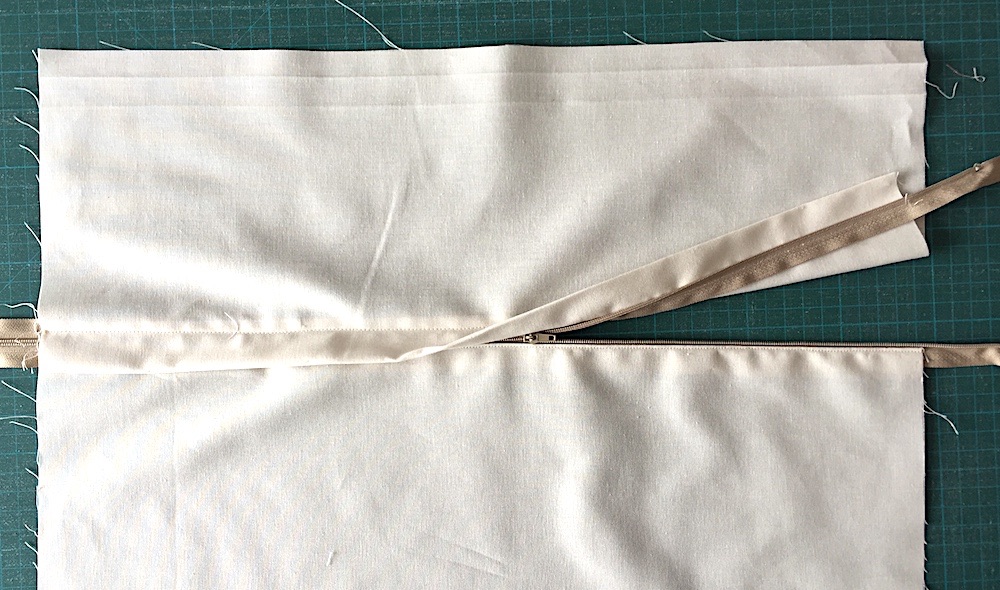
11. You should now be able to open your zip freely, and when closed it is hidden from view.
Before sewing the cushion back to your front panel be sure to OPEN THE ZIP first, and pin the open end to keep them together while sewing.
12. If you are going to put a binding on your cushion, you can sew the back to the front wrong sides together as the binding will hide the raw edges. Attach the binding in the same way you would on a quilt - for a full tutorial on cutting and attaching your binding, click here.
However, if you were not using a binding, place the back and front right sides together, not forgetting to open the zip first.
Whichever method you use, sew your panels together using a 1/4" seam allowance, sewing over the corners twice to strengthen. Trim off the zip ends (and the excess seam allowances at the corners if not attaching binding and open right sides out). Poke out the corners and press well to flatten the seams. Your cushion is now complete!