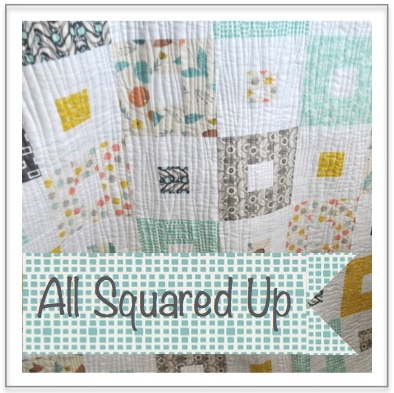
A Pieced Backing for the All Squared Up Quilt
If you have made my All Squared Up Quilt, and would like to replicate the backing I used on my Japanese version, here you will find the cutting and sewing instructions, plus some extra ideas on how to quilt your finished top.
The backing design for this quilt is based on the simple block used on the front, just on a larger scale.
You will need: • 60” x WOF (width of fabric) of main backing fabric • Three fat quarters in co-ordinating prints, preferrably the same as you used on the front. • One fat quarter of the solid you used on the front.
1) From each of the patterned
fat quarters, cut the following:
• two 6½” x
18½” rectangles
• two 6½”
squares
Then from the solid fat quarter, cut:
• three 6½”
squares
• two 18½” x
3½” strips
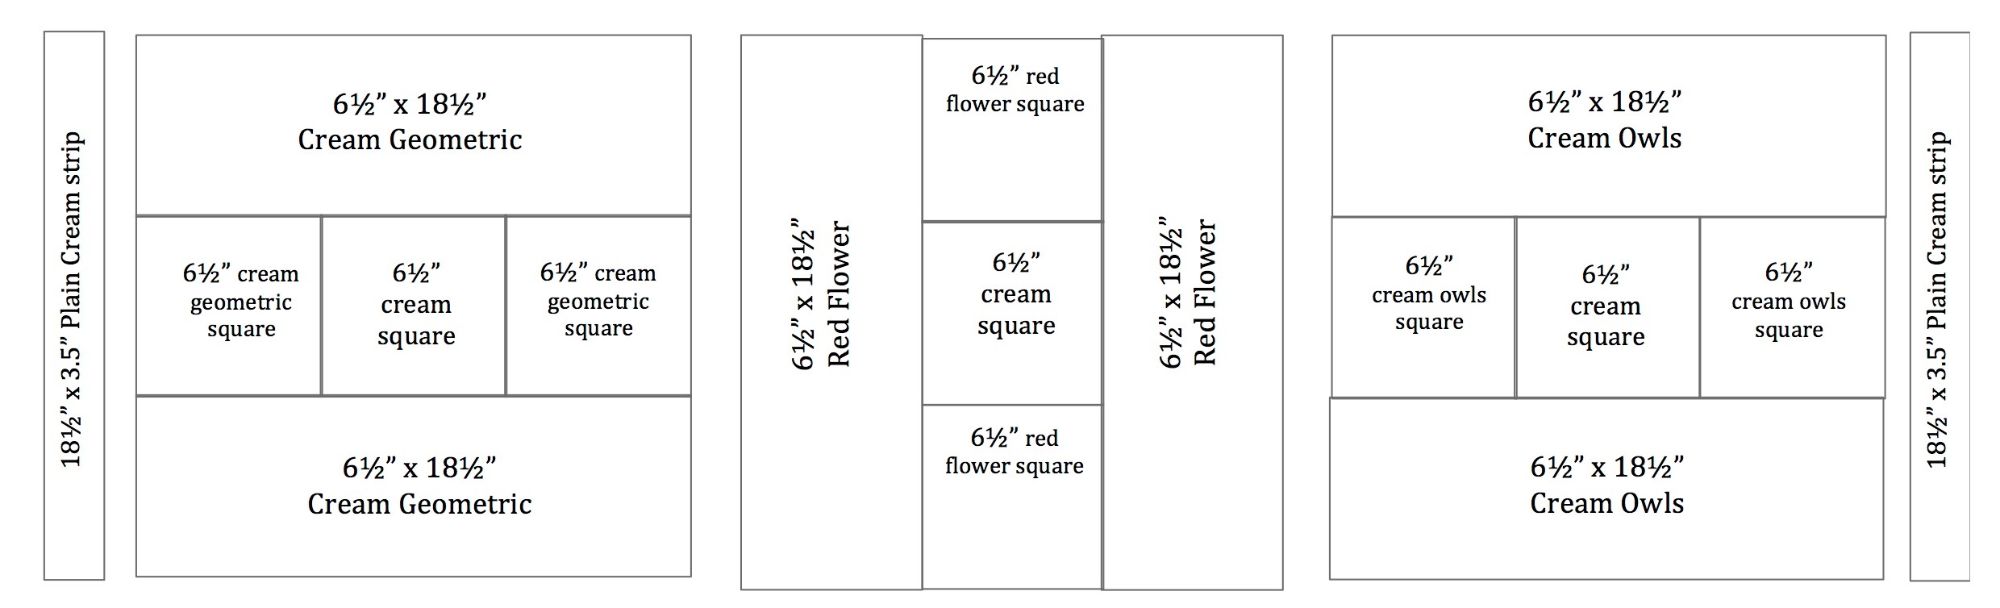
2) For each
block, sew the centre three squares together, with a cream one in the middle.
Press seams towards the patterned fabric.
3) Sew a
rectangle to either side of your centre strip to complete the block – again
press seams towards the patterned fabric.
4) Sew these
three blocks into one long panel, then add a solid (cream) 18½” x 3½” strip to
the top and bottom.
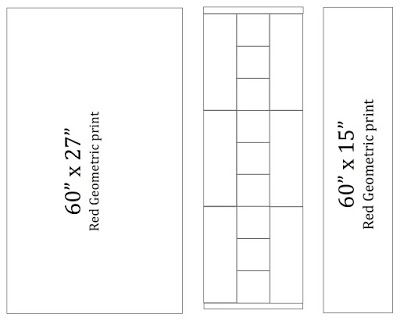
5) Lay out your 60” of main fabric onto your cutting table, and trim off the selvedge with your ruler. Unfold the fabric so you’re only cutting through one layer, and use you quilter’s ruler to measure and cut off a 15” strip DOWN THE LENGTH of the fabric (not across the width). This will give you two panels to sew onto either side of your pieced blocks. Press seams toward the main fabric.
6) You are now
ready to baste your quilt sandwich. To ensure your backing is straight and
lined up with the front, fold your backing in half and place a pin at the
centre mark of the top and bottom edges. Unfold, and fold again the other way,
placing a pin at the centre mark of the two side edges. Do the same with your quilt top.
7) Now find
somewhere clean and flat, lay out your backing fabric, face down, and tape to
the surface to keep flat. Lay and smooth out your wadding on top of this, and
then finally place the quilt on top, face up, lining up those pins along each
edge of the top and backing. Baste with curved safety pins and quilt.
A note on
quilting: You could simply sew some stitch-in-the-ditch
down and across each of your main seams. Or, if you’re feeling adventurous you
could try some free-motion quilting
over the entire top. I chose to use my walking
foot and stitch wavy lines across the top.
To do this, start at the middle
of one edge of the quilt and roughly following the centre seam, sew a gentle
wavy line down the middle of the quilt. When you get to the opposite edge,
break thread and pull the quilt back through the machine to start the next line
to the right of first one.
Carry on working in this direction so you only ever
have half the quilt rolled up under the machine. Try not to echo the previous
line to avoid it looking too uniform, instead mirror the pattern in places, or
go wide and come back and fill in later. If you go a little too wild, you will
have the next line of blocks’ seams to guide you back to a ‘straighter’ wave.
This quilt is based on 2½” fabric strips, otherwise known as a jelly roll. Add a constrasting solid or blender and you can make this gorgeous quilt with my free online pattern
The All Squared Up Quilt Kit in P&B's American Patch fabrics includes all the fabric strips, borders and binding you need to complete this gorgeous quilt top.
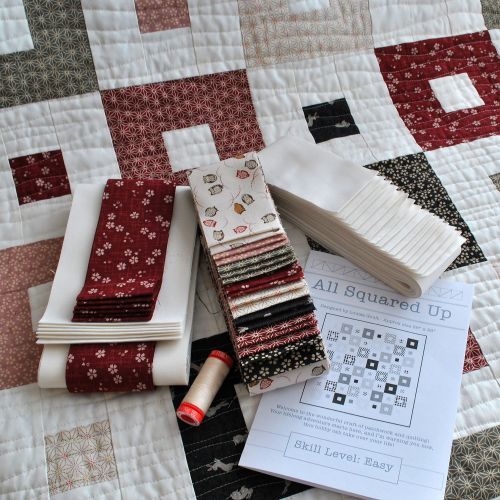
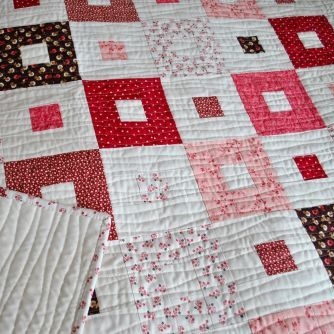
Or you could make this version in these lovely soft Japanese prints - as you can see, as well as all the fabrics to complete the top, you also get an Aurifil thread and full instructions.