How to join your binding ends
In the final section of my Beginner's Quilt series, I describe a method for attaching the binding - a method I have used for years and have never had a problem with, I have always joined the ends in this way, without actually sewing them together, and they've never come apart.
In the past, whenever I've read tutorials on joining binding, they would tell you to leave at least 10" of extra binding at each end... something I never thought necessary, so didn't bother. Until that was, I found this great tutorial from Vicki over on Sew Inpsired and decided to give it ago... It was so easy, I can't believe I've never done it before!
So to paraphrase Vicki, this is how to finish off your binding by actually sewing the ends to each other rather than leaving them open.
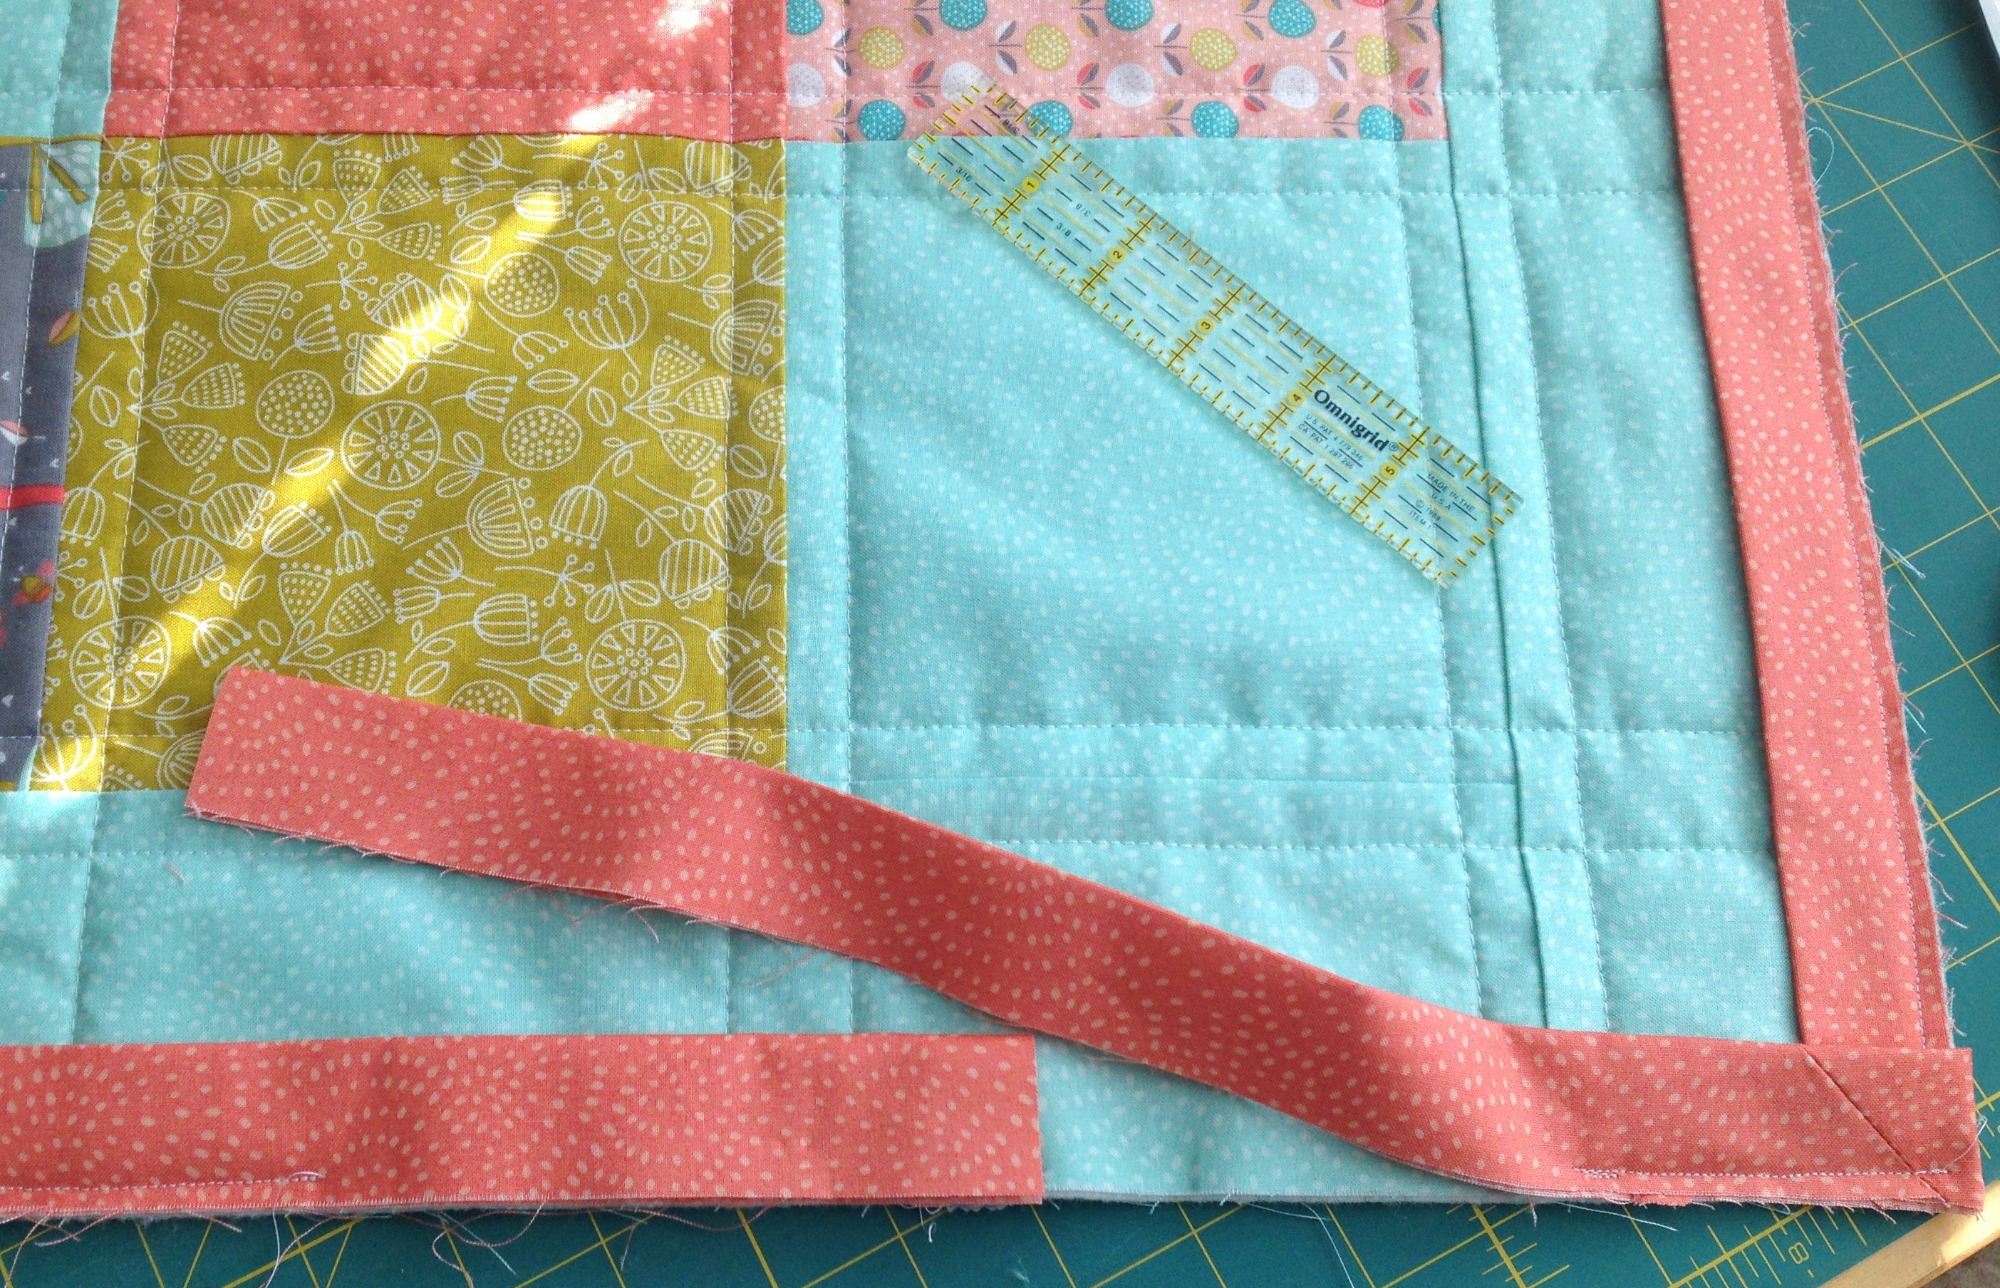
At the beginning of your binding, start sewing approx 3-4" down, leaving the end loose. Attach the binding all the way round, (learn more about this here) until you get to about 8" from where you started sewing. Secure by backstitching and cut thread.
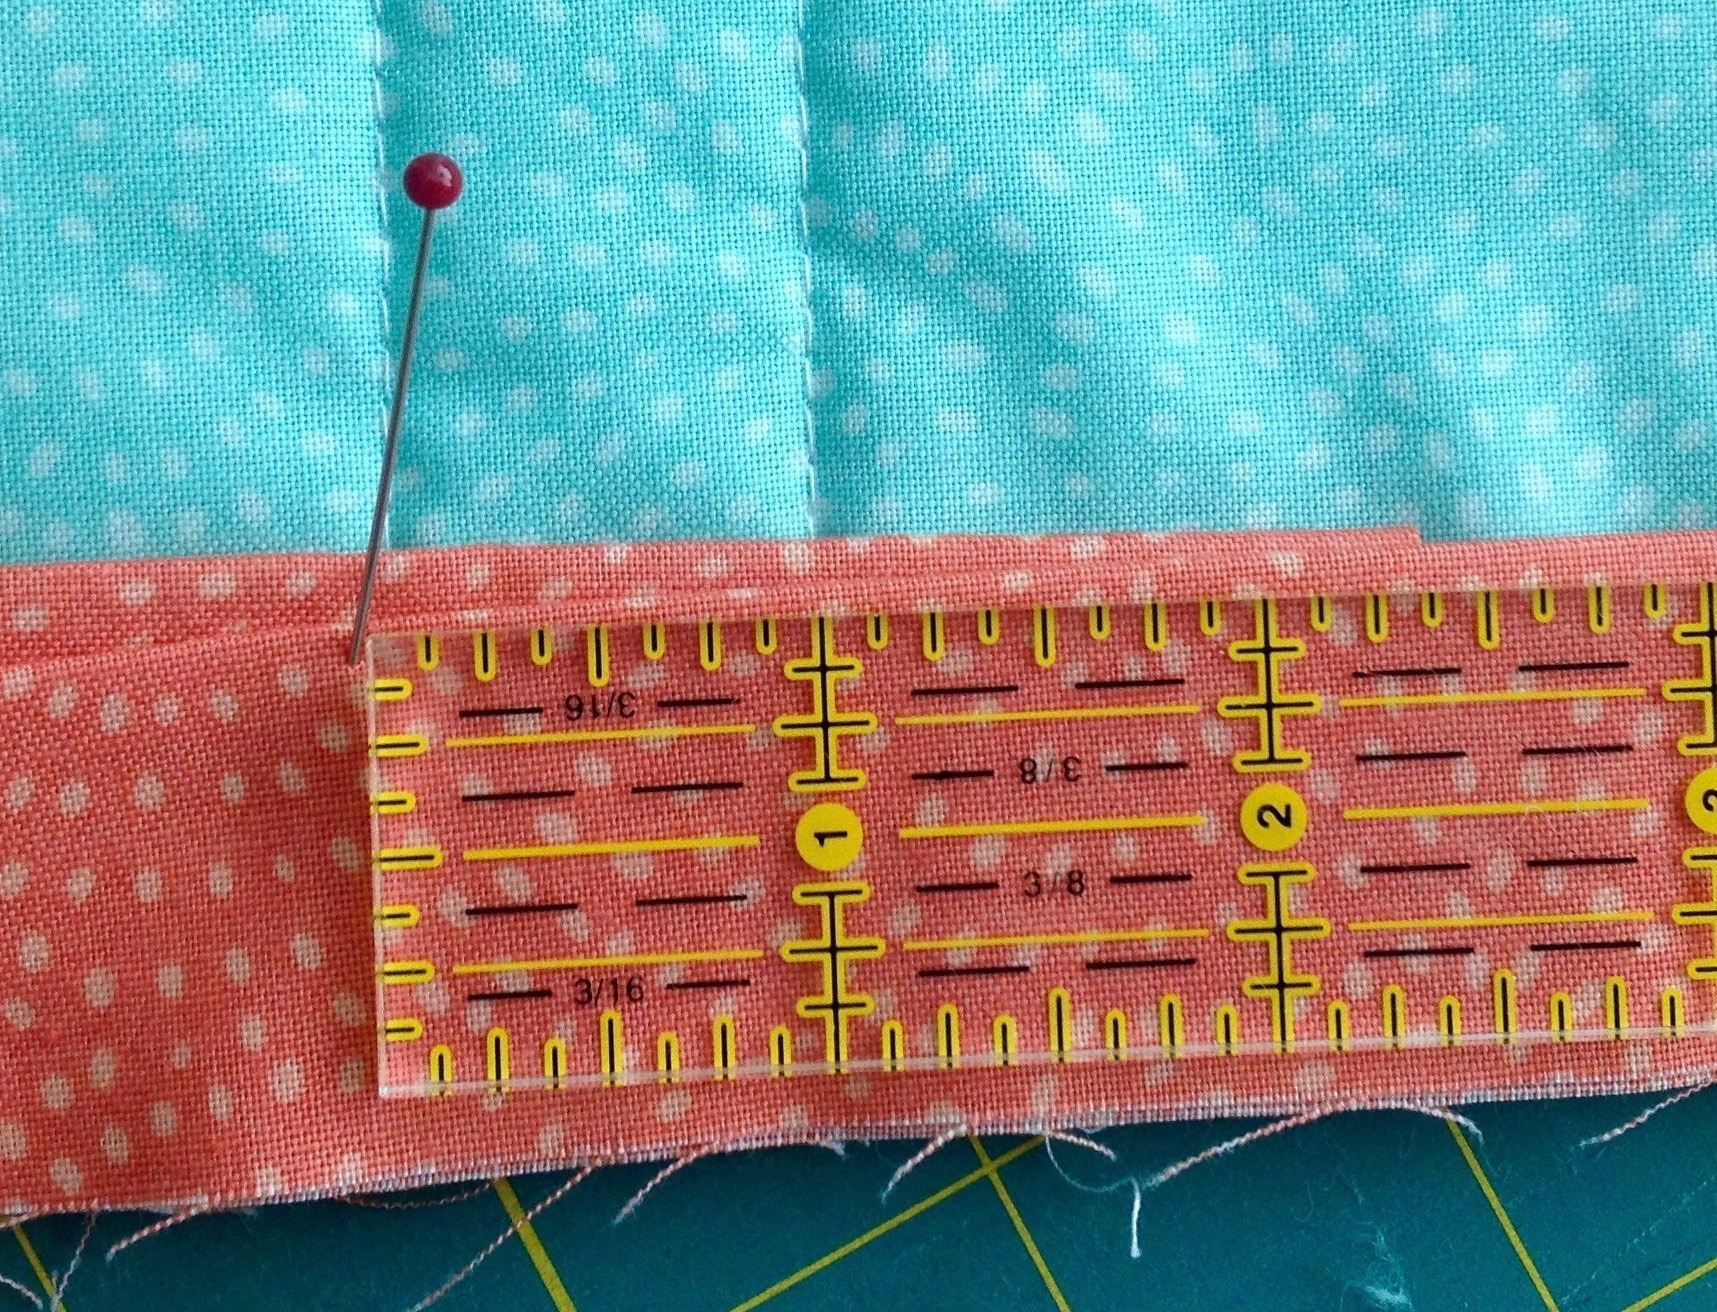
Lay your two binding strips down so that they overlap, with your last strip laying on top. The point where you need to cut your top strip depends on the width of your binding before you folded it. So in my case, as I always cut 2.5" binding strips, my overlap is just 1/16th" shy of 2.5".
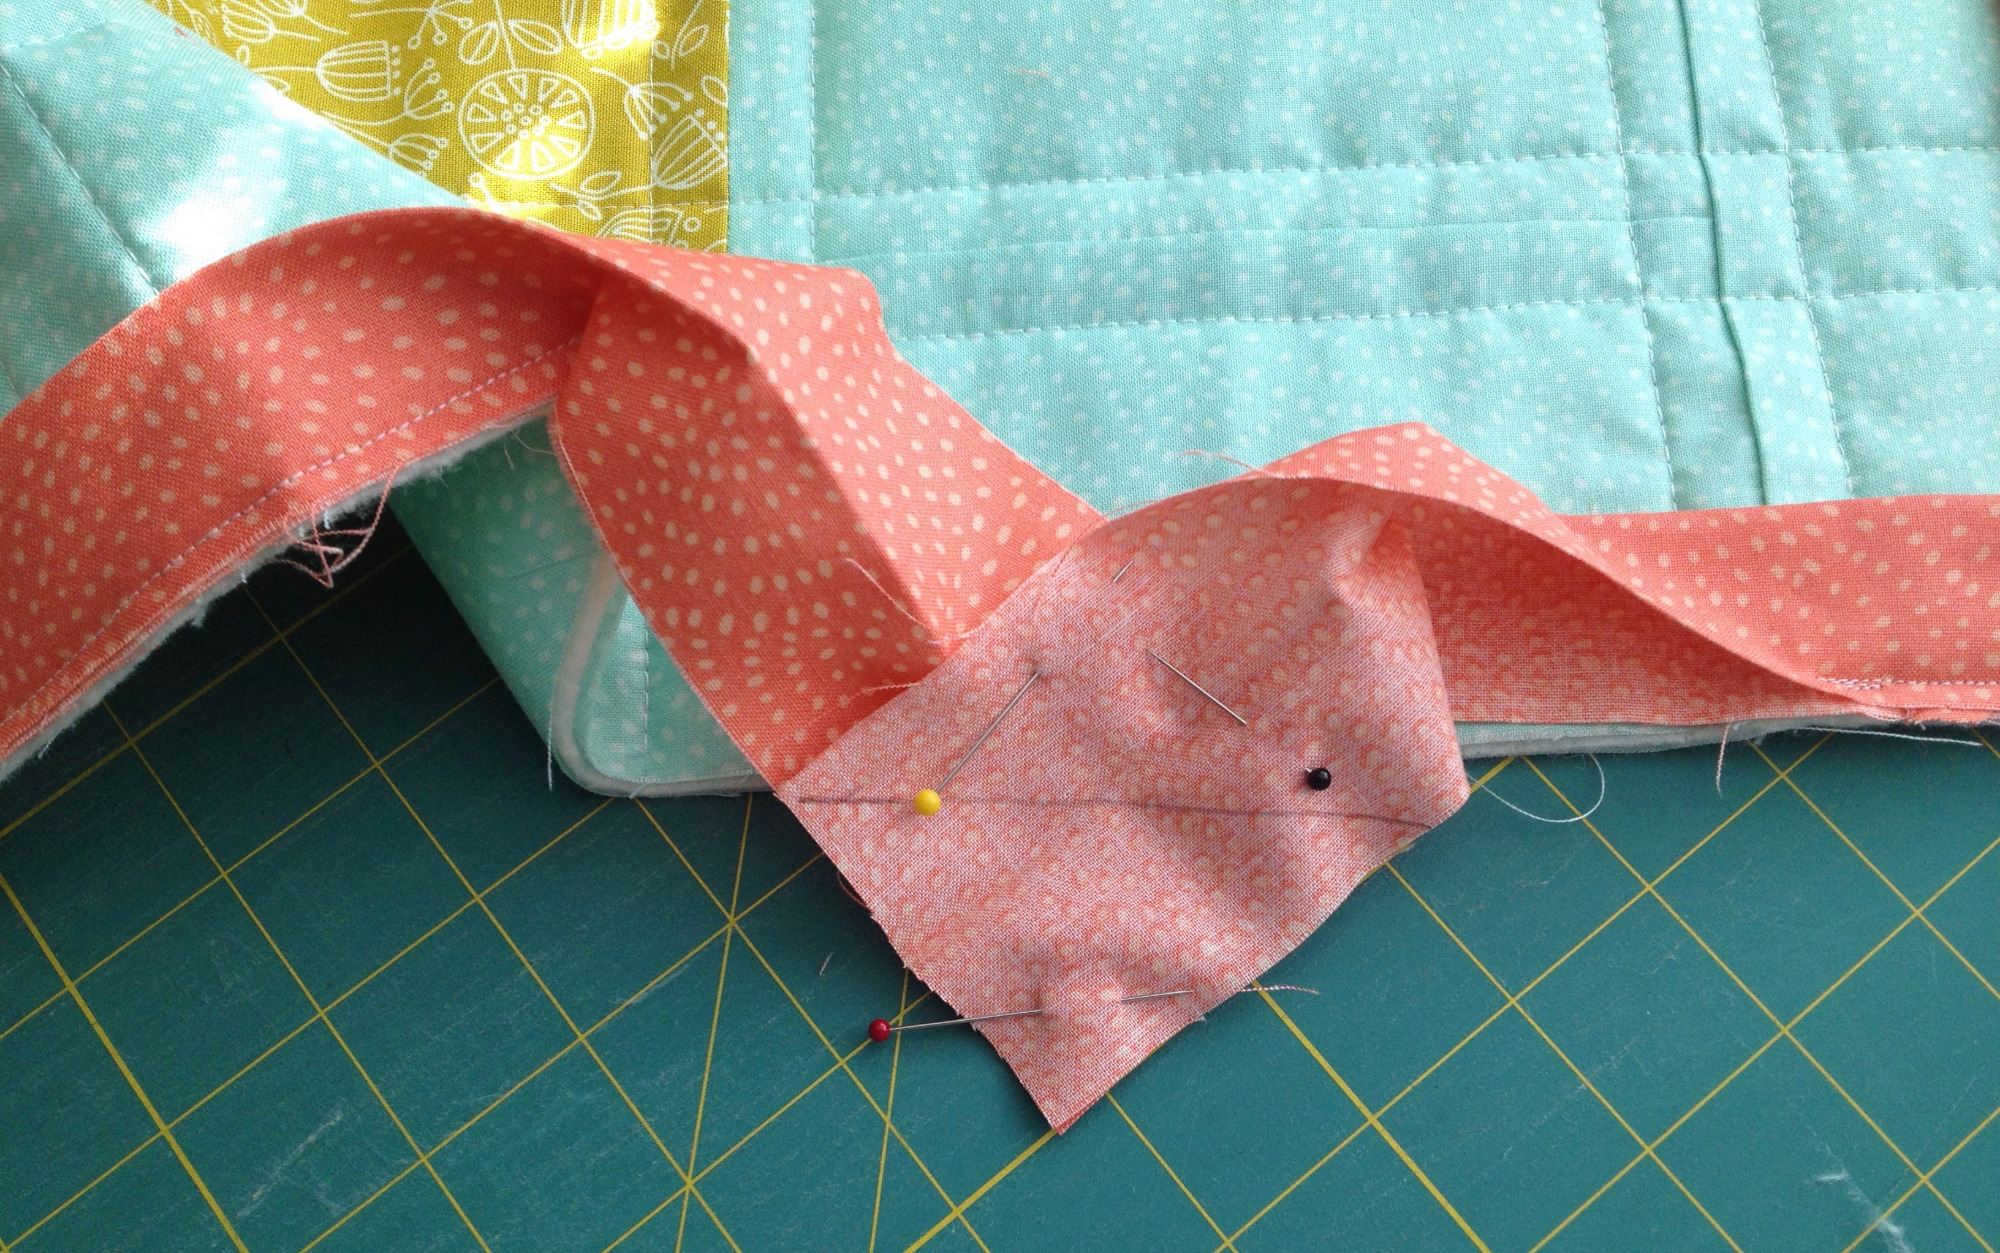
Now the clever bit... push your quilt out of the way - this is why you need to keep quite a bit of your binding ends loose. Unfold your binding strips and place them right sides together at right angles. I found it useful to pin along the diagonal and then turn to the right side to see if this was correct before I stitched anything.
Once you're happy, draw the diagonal line and stitch, trim off the excess seam allowance, refold and pin your binding back into place onto the quilt top. As you cut slightly less than required, a little stretch should allow your binding to lay nice and flat. Sew into place, then handstitch the back down, and you're done. Not as hard as it looks was it?!