How to cut fabric for quilting
Quilters love fat quarters, they’re relatively inexpensive so you can buy lots of them at a time giving you variety in colour and design. Also, you can do so much with a fat quarter because of their large surface area.
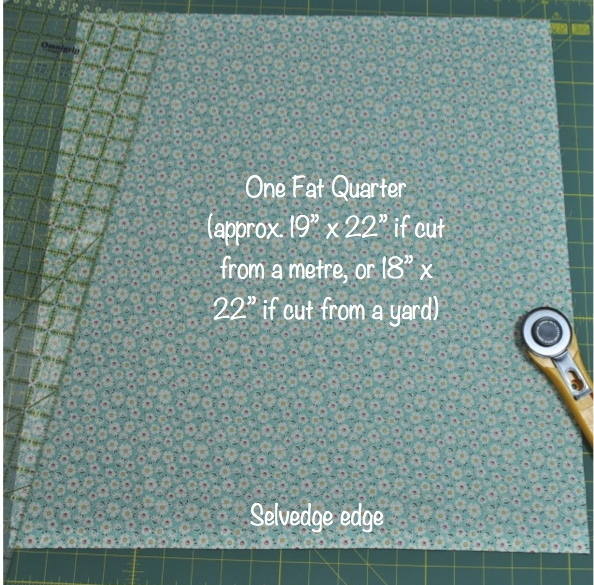
We are using a fat quarter (FQ) in this tutorial. As you may notice, your FQ may not be an exact square with even edges, so the first thing we need to do is neatly trim off a raw edge. Lay out your fabric on to your cutting mat, and fold in half, wrong sides together, with the selvedge edge at the top, and the fold running along the bottom.
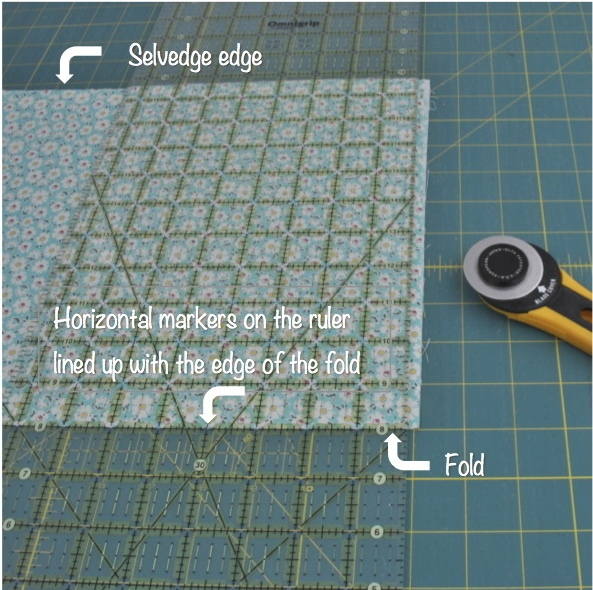
Using the markers on your quilter’s ruler, line up a horizontal line with the folded edge of fabric, bringing the ruler in ½” or so from the edge so that you cover all raw ends. Place your left hand on top of the ruler, spreading your fingers out evenly to get a firm hold. Slide off the guard on your rotary cutter, and pressing down firmly with your right hand, run it up the right-hand side of the ruler, always cutting away from you. You will find that the more vertical the cutter, the easier and cleaner your cut will be. (If you are left-handed, obviously reverse this placement).
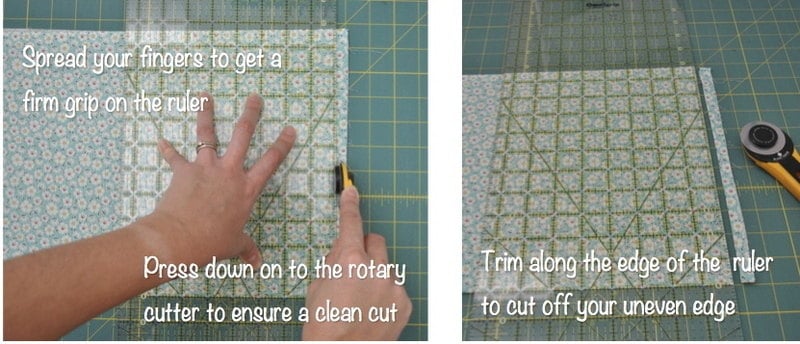
Your newly cut edge is now 90 degrees to your fold. Now rotate your fabric 180 degrees so that your newly cut edge is on the left-hand side. Do this carefully so that you don’t disturb the fabric’s alignment. Sometimes I prefer to rotate the whole cutting mat so I don’t touch the fabric at all.
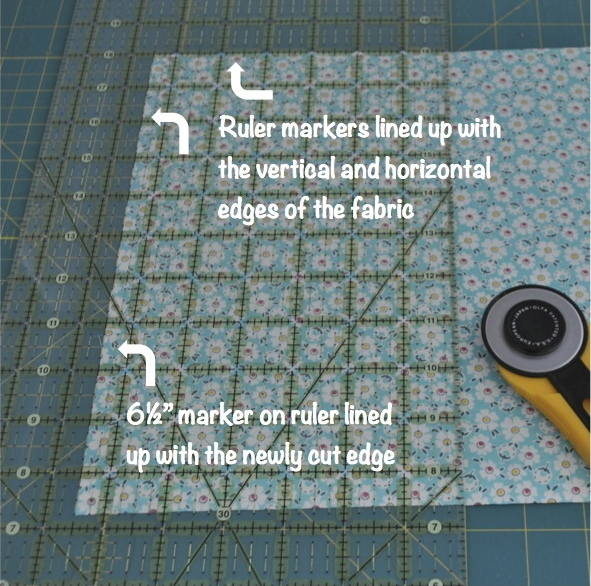
In this tutorial we are going to cut 6½” squares, as needed in the Beginner’s Quilt (Link). When cutting fabric in quilting most shapes begin with a strip of fabric. In this case we need to cut a 6½” strip. Place your ruler on top of your folded fabric, again lining up a horizontal line with the fold, which is now at the top edge. Then find the 6½” vertical mark on your ruler and line this up along the cut edge of your fabric. Place your left hand firmly on top of the ruler, and run the rotary cutter up the right hand side of the ruler – you now have your first 6½” fabric strip.
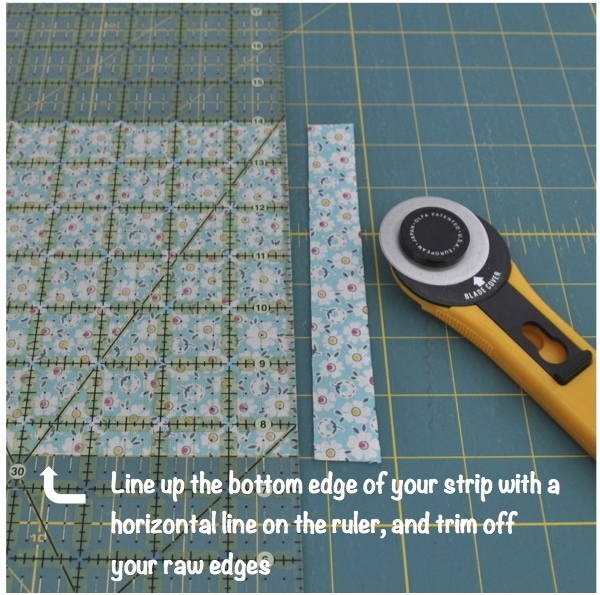
Lay out your strip so that it runs horizontally across your mat with the selvedge edge on the right. You need to trim this raw edge, so as before, line up a horizontal line on your ruler with the bottom edge of your strip, and trim off your raw ends. Bare in mind that you have two layers of fabric here, so make sure you catch both raw edges in your cutting.
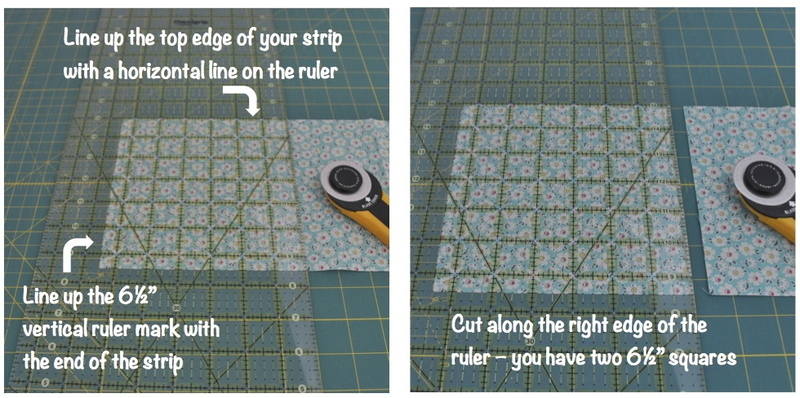
Now turn the strip again, 180 degrees, so that your newly trimmed end is now on the left. Place your ruler on top, again aligning the 6½” vertical mark on the ruler with the cut edge of the fabric, cut along the right side of the ruler. As you have cut through two layers of fabric, you now have two 6½” squares. Unfold your strip and you’ll get another square.
